A Day of Destruction
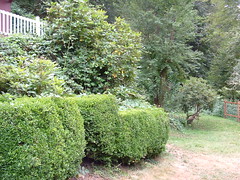
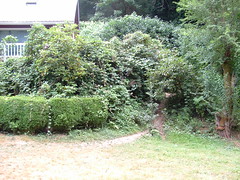
Today's project would be reigning in the front yard "planting beds." There is evidence of the area in front of the house having once been nicely landscaped and planted - maybe in the 60s?? I try to keep it at least somewhat under control in anticipation of the day when we can turn our attention from house renovation to such rewarding and pleasant tasks as gardening and landscaping. The other day, as I was looking at a blackberry vine that had forced its way in through the laundry room window I realized that its been a year since I did anything out there - an entire year!
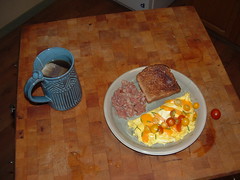
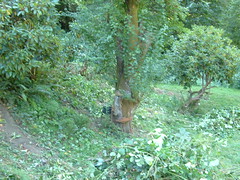
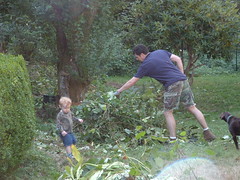
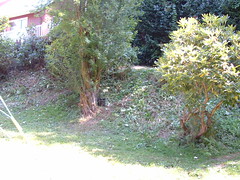
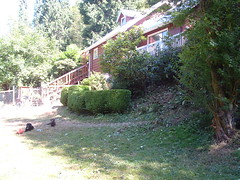
Never get out of the boat... Duvall in Apocalype Now Style Yardwork - I wanted to bring in a load of napalm on my own position. This is what happens when I do no yard work what-so-ever for an entire summer and put my time, instead, into remodeling the upstairs. Low Fat, High in FiberFirst I had to have a light breakfast. The corned beef hash turned out to be really gross and the cats and dogs each got a share. I'm the man for the job. Maybe you can't tell, but in this pic, I'm growling. The hat and shades are just to keep up with Silly Keith and his two bit axe. Smuggling PlumsThe plum tree that someone attacked with a chainsaw but didn't kill gets its revenge at the end of each summer by dropping a slushy mess of over ripe plums the dogs promptly churn into little dirt balls. Help from my little friends or..With a little help from my friends... The T-meister gets into the action. Jonah swears allegiance...I really enjoy swinging the machete. Its good exercise and while I cut through the blackberries and knot weed I can imagine I'm exploring in Borneo or doing battle in the gladiator pits of Rome. I can imagine myself charging across the plains to do battle with an entire grisley horde of cgi animated bad guys. Orcs fear me. Elf princesses want me. Take that Russell! About 3 hours of hacking and clearing later...All finished. The dogs are tired. Apparently armor is heavy and Lily isn't used to being my stead. The result is not beautiful by any means, but it preserves the option for us to maybe someday get around to landcaping and gardening our yard.
Saturday in the Garden
Saturday, after my long run, I did a little rummaging in the garden and put away veggies for a few hours. I also got in some good work, sanding around the edges of the floors with a palm sander in anticipation of the drum sander's arrival. I won't bombard you with yet another photo set of that project. If you'd like to see pictures from the garden, however, there is a new set here. Its 4:47 PM, which means Brit should just about be to the freeway by now, headed south for the last class of the term and the second to last term of her masters program, ever, for good, the end, amen.
Sleeping on the Job
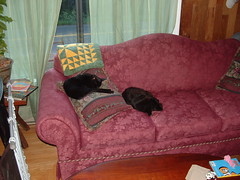
Why I never get any work out of those damned cats... Sorry, for the many separate posts this morning. I wanted to get these pics posted even though I'm pressed for time. The posts I put up today are a follow on from the post I made yesterday in case you want to read them in order.
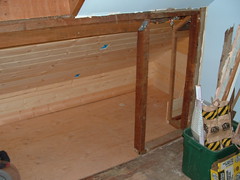
Bunk 1 Foot
It turns out there will be about 4.5 or 5 inches of free space between the back of the mattress and the wall. I'm thinking of building a rack that would hold the mattress away from the wall and against the front of the bunk. It would be used as a magazine or book rack as well. I put a total of three electrical outlets in each bunk because it seems like you can never have enough. There will be about 3.5 to 4 feet of extra storage space at the foot of the mattresses.
Future Study Nook
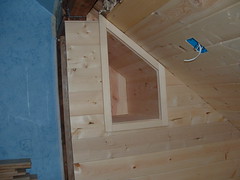
The pine paneling will extend to the left of Bunk 2 to finish out this study nook that used to be a closet. I'm going to deepen the existing shelf and hang to under cabinet lights from the underside of it. I'd also like to build a desk sized shelf that can be lifted off its hangers and stored in the remaining eave space if future residents decide not to use the nook for a desk.
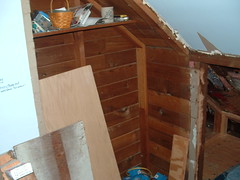
bunk 2 foot
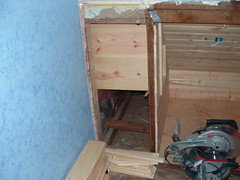
Looking through what will be a wall into the storage space accessible from bedroom 2.
Going to da mattresses
Tada... Mattresses! I know, exciting, huh? Maybe I'm getting old... I was concerned that these wouldn't be comfortable because they were fairly inexpensive, but they turned out to be pretty nice if you're not someone addicted to memory foam. They have more reinforcement in the lower part and are designed to be used in bunks without a box spring. Ask Mikey Forrester might say, "Coostum designed for yeah needs!"
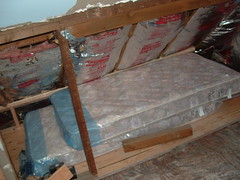
Bunk 1 Ceiling
Its probably sort of hard to understand what you are seeing in this photo. The pressure treated 4x4 is the beam we put across where the pony wall used to be for support of the roof. The 4x4 is pressure treated because I already had one like that and this project is already taking up very close to the status of El Broko. We will put a narrow ceiling across from the front of the bunk to the sloping roof so there will be a horizontal surface for the recessed lighting wiring. The light switch will be mounted on a separate length of board that can be unscrewed in order to gain access to the wiring.
Another view of Bunk 1 head box
The box molding will be tighter flush with the ceiling after we shim it.
Bunk 1, Head Storage.
There will be room to put a shallow shelf box in front of the one accessible from within the bunk that should be about deep enough to hold paperback books, etc. A second shelf box below will be deep enough to accomodate a storage bin
Storage Nook in Bedroom 2
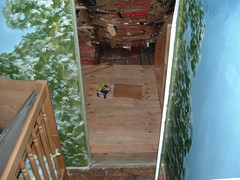
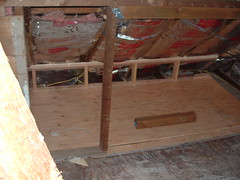
This storage space has a new floor and an outlet intended for providing a light source.
Looking at the floor going into Bedroom 1
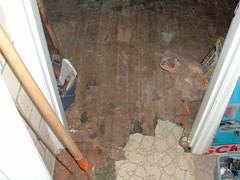
Cousin Steve has volunteered to come down and help run the drum sander. Boo Yah!
Close Up of Floor
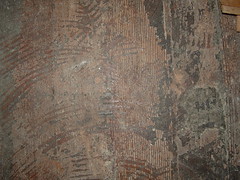
I hope the grain detail seen here will remain visible...
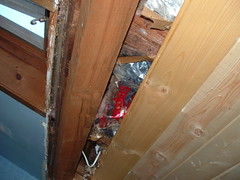
Skylight Above Bunk 1
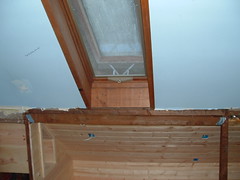
Hey, just like a real navy bunk - little dribbles of water can run down on you in the night!
recessed lighting cans
I will be replacing the bulb with more appropriate r4 sized 60 watt bulbs
Goodbye Janky Old Light
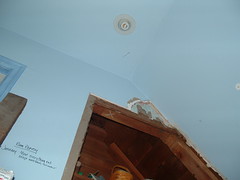
I have to patch this hole in the ceiling. My plan is to put a screw into the middle of a chunk of scrap board, fit the board up into the hole, holding the board down against the ceiling screw two additional screws up through the ceiling and board on either side of the board. Take the first screw out, mud over the board, sand, mud, sand, mud.....
Bunk Project Progresses Afoot
No picture to go with this posting unfortunately. Hopefully I'll get time to snap a few tonight. I got the mattresses home Thursday night and was able to spend all day Friday working on the bunkroom project. I'm starting to find working on the house incompatible with long runs and child watching on Saturday when Brit is at school. I had “work work” to do on Sunday but Friday was a good day for projects. We got the old light fixture that used to hang in the middle of the room (thereby ensuring that whichever way you turned your shadow would be looming over whatever you were doing) pulled out and replaced by four directional recessed lighting cans in the four corners. We also did wiring for the recessed lights in one bunk ceiling and ran more extensions. I finished putting a CDX floor down in the part of the eaves that will remain storage and put lathe strips over the insulation to keep it from falling down in the future (there is six inch bat in between the 4x4s so it always wants to spring loose), and we started getting to the fun stuff - installing the shelf boxes that Dan the contractor built in his shop and nailing up the tongue and groove pine that will line the bunk spaces and a study nook that in a previous life was a little closet.
I'm learning a ton about how to figure cuts that require multiple angles, getting more precise with measuring, etc. At the same time its more fun and relaxing to have someone with 35 years or so experience to be the one ultimately calling the shots so I don't royally screw up, and I'm learning a skill I can use in other parts of the house. Now if I can just convince the spouse that we need our own air compressor and nailer...
Bannistration
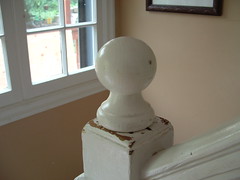
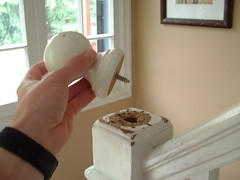
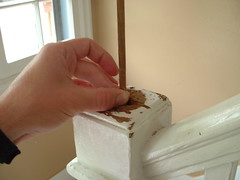
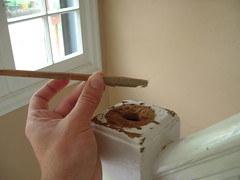
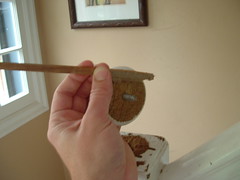
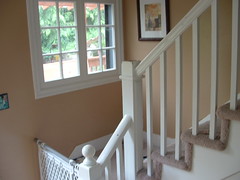
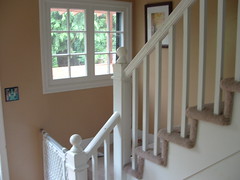
Garret wins the prize (whatever that means). The mystery picture was indeed of our bannister - one of the many projects I have waiting for me. There is a hollow cedar box at the top of the bannister where the knob is supposed to sit. We found the knob pushed way back in a closet when we moved in and the hole in the top of the hollow box long ago stripped out. In addition to stripping the hole, it looks as though some helpful previous owner or denizen has repeatedly banged the screw protruding from the bottom of the knob into the top of the box. The hollow box is about 3" deep. The screw protrudes from the bottom of the knob about 2" Currently the knobless bannister makes a convenient place to set a drink or precariously balance the mail. The plan: 1. Use a jigsaw to cut out the top of the box so that the hole will be widened to just under the diameter of the knob base 2. Use wood paste to fill any of the craters not cut away in the top of the box. 3. Put semi-liquid Substance of Unknown Composition (SUC) down into the box to fill of of it, minus the dimensions of a the peice of wood that will follow it into the hole. 4. Push said peice of wood down into the SUC so that one end is firm on the base of the box and the other end is flush with the top surface of the box. Screw it down using predrilled holes. 5. Wait for the SUC to dry and harden. 6. Screw the knob down into the peice of wood. 7. Paint 8. Find someplace else to precariously balance the mail. What suggestions do you have? What am I not accounting for in this plan? What should I use for the SUC?
My VW Rocks!
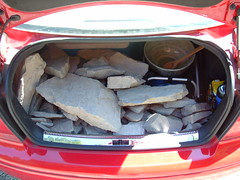
Testament to the greatest spouse ever: She who puts up with my predilection for stopping the car on mountain passes to pick up interesting (to me) rocks for landscaping…
Ever check your trackbacks and wonder who the heck that referring site is, only to check it out and find out its a buddy you've had since middle school who didn't even tell you he had started a blog?
Why Stop the Blogging Schizophrenia?
A while back J from jmpottery asked me to post some pics of our studio. I finally got around to obliging and posted them to a new blog I created for the occasion: http://2bagsoclay.blogspot.com/ The whole flickr set can be found here. Enjoy.
Coming soon to a home improvement blog near you...
Can you tell what this is? Can you tell what my next home improvement project is?
Second bunk coming along
Soandso's free wheeling life of crime apparently doesn't allow him the opulence of a Flickr Pro account, so he asked me to post these photos for him as he is out of bandwidth for the month on his free account. Click here to see the rest of the photo set with comments.
July 30th, 2005 In the Garden
We're starting to get some delicious yummies for the garden and can see a lot more coming around the cornere. Click here to see more comments and the whole photo set.
Goodbye Janky Lighting
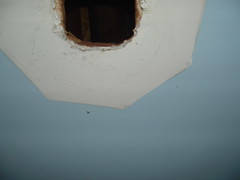
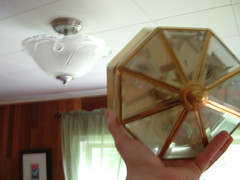
For anyone contemplating buying this $18 low watt fixture at home despot, run away! I there last weekend to get the replacement shown here as already installed and found the cheap one still for sale. The old one never provided adequate lighting in either of the rooms where it was installed in our house and the non-standard bulbs burned out frequently. Do you like the octagonal mark left on the ceiling tile? I do. I'm not sure what the best way to get it out is. Steam ironing maybe?
Elsewhere on another blog...
A few weeks ago I did an informal poll, asking whether people liked home renno-only posts exclusively, or whether they would like to see a more eclectic subject mix. The feedback I got was that some digression is interesting but to keep it mostly to home improvement stuff. I also got the message that if I started making long and frequent posts about running, that some of you would definitely quit reading. Based on that feedback I created a second blog that I’ve been posting to about my training.
Recently a couple of people (including my wife) have said something akin to, “What? What other blog?” So, in case you might care and didn’t know, the URL is http://scottsrunning.blogspot.com
|


